Introduction
You might have already known that Ms declared the review
edition of SharePoint 2013 (aka SharePoint15) last 30 days. Here I would like
to provide a summary of the setup of the same on a Microsoft windows hosting
server 2012 device.
Download
Please note that there are two versions to download:
- SharePoint Foundation 2013
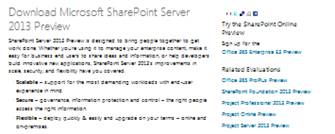
- SharePoint Server 2013
Choose the version which you require:
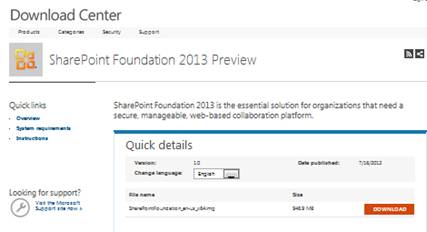
Please note that the file is in Image (.img) format. You need an Image File Extractor to extract and run the setup. Following is the link for an Image File Extractor. (http://www.winimage.com/)
No Client Operating System Installation
The Client Operating Systems like Windows 7 / Vista etc. are not supported in the SharePoint 2013 version. So you might require one of the following for installing:
- Windows Server 2012 R2
- Windows Server 2008
- Windows 8 Hyper V virtual machine
Prerequisites
Following are the prerequisites for SharePoint Foundation 2013
- Microsoft .NET Framework 4.5
- Windows Management Framework 3.0 (CTP2)
- Application Server Role, Web Server (IIS) Role
- Microsoft SQL Server 2008 R2 SP1 Native Client
- Windows Identity Foundation (KB974405)
- Microsoft Sync Framework Runtime v1.0 SP1 (x64)
- Windows Server AppFabric
- Microsoft Identity Extensions
- Microsoft Information Protection and Control Client
- Microsoft WCF Data Services 5.0
- Cumulative Update Package 1 for Microsoft AppFabric 1.1 for Windows Server (KB2671763)
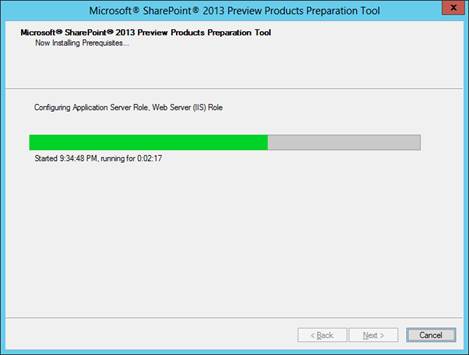
You can install the pre-requisites using the Install software prerequisites option from the main screen. In case of internet connection unavailable, then download & install would be possible.
Windows Server 2012
For the installation I have used Windows Server 2012 R2 trial version. If you already have a server operating system installed you can skip this step and proceed directly with SharePoint 2013 Installation.
Download Windows Server 2012 Image
You can download the image file from following location: http://technet.microsoft.com/en-us/evalcenter/hh670538.aspx.
The image file is 3.37 GB in size and you can extract or burn the image file to proceed with the installation. (ImgBurn is a tool to burn .img files to DVD.)
On running the bootable DVD you should be prompted with the setup.exe as shown below:

Use the GUI option in the further step:

Please note that this operating system installation step can be skipped if you already have Windows Server in place. Ensure your Operating System has a valid domain integration.
Tips
- Inside Windows 2012, Use Ctrl + Alt + Delete to view the Power Options screen and you can choose Shut Down, Restart etc.
- To access your Start Menu (Screen) use your Windows button or move mouse to the left bottom end of toolbar.
SQL Server 2012
SharePoint 2013 requires SQL Server 2012. You can download a trial version from the following link:http://www.microsoft.com/betaexperience/pd/SQL2012EvalCTA/enus/default.aspx.
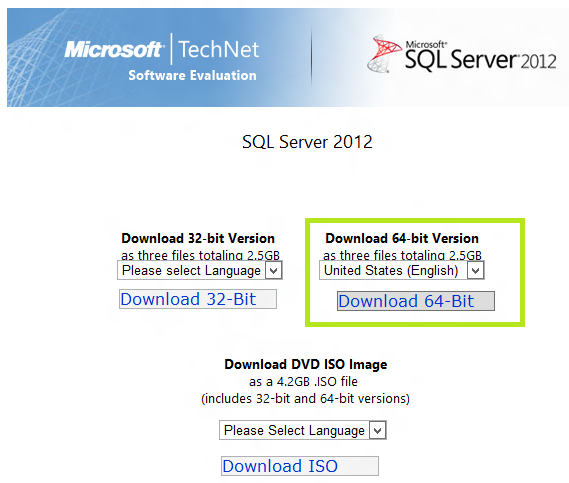
Download the highlighted version and install it. Before installation you need to create a domain account to specify it during the SQL Server installation.
Note: The SQL Server installation should take around 20 minutes.
SharePoint 2013 Installation
After installing the operating system & database server we can continue with the actual SharePoint 2013Installation. Run the setup.bat from the extracted files root folder.
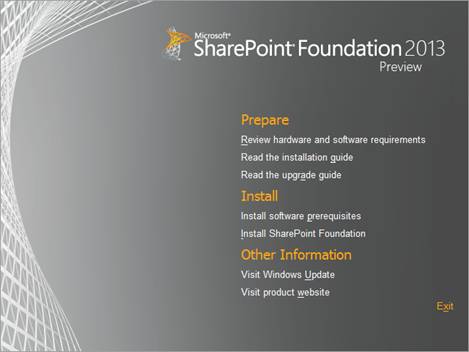
Install software pre-requisites
Click on the Install software prerequisites link to automatically install all the pre required software.
After the above step you can proceed with the actual installation.
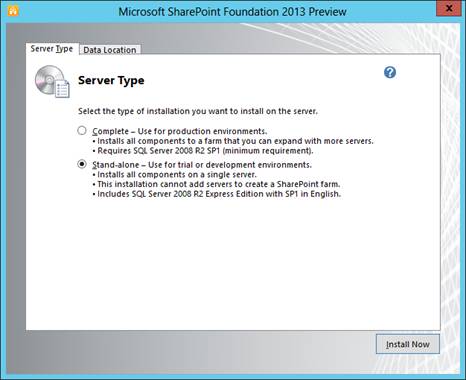
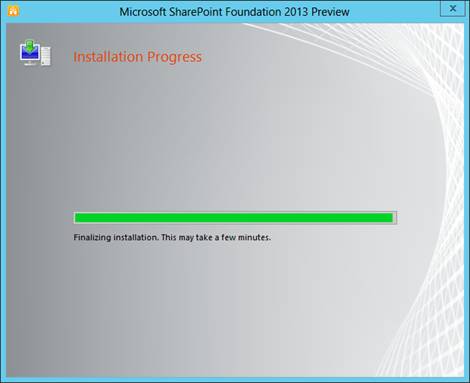
Choose the installation as Standalone and click the Install Now button as shown below.
Wait for a few minutes for the installation to be completed.
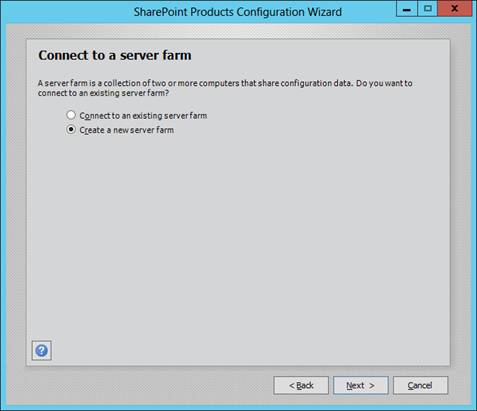
Once the installation is completed you will be launched with the Products Configuration Wizard.
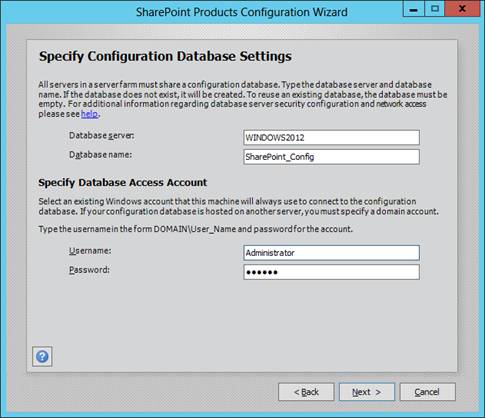
Specify your database name and credentials in the following page:
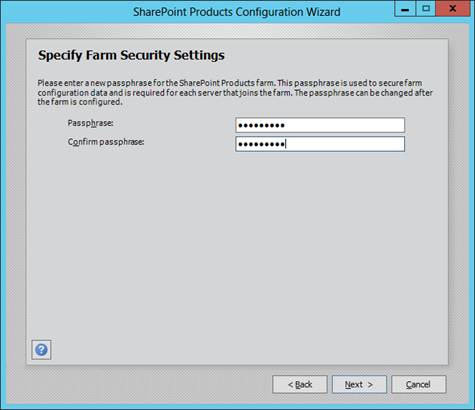
Enter the Farm Security Phrase of your own:
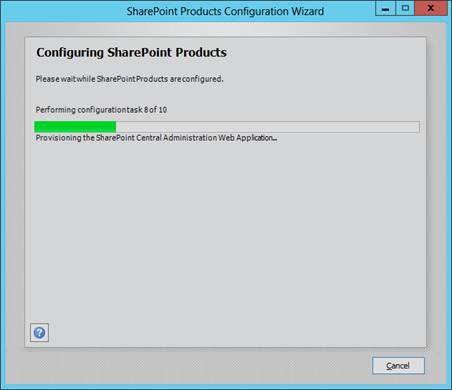
Wait for the configuration activities to be completed. This should take around 10 minutes.
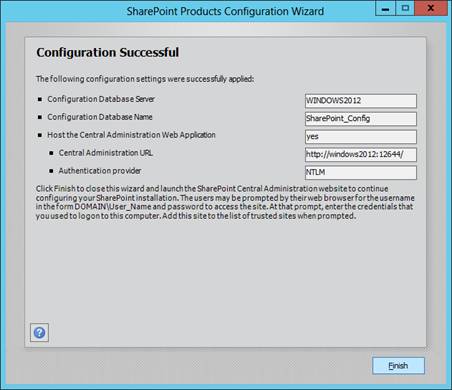
Once the Configuration is done you will get the following message. The textboxes shows your appropriate machine parameters.
Central Administration
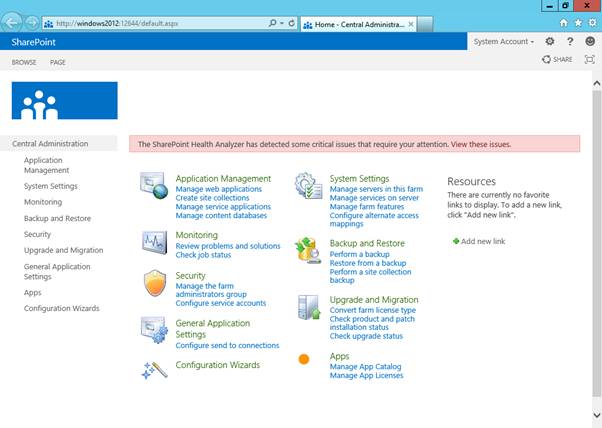
Following is the screen shot of Central Administration in SharePoint 2013. You can open this from the Start Menu.
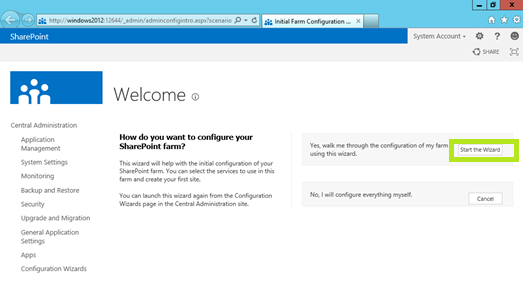
Click on the Start the Wizard button as shown above to configure your farm settings. Once the farm configuration is done you should be able to see the following screen.
Default Site
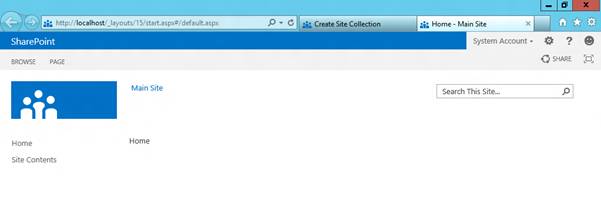
Now you can try opening the default site installed. It should be accessible by the machine name itself as shown below:
- http://localhost
- http://machinename
Following is the blank site template of the default site.
Corrupted Default Site
If you get a time out error or a Connection Close message then probably the default site collection is corrupted. You can do the following activities to fix it:
- Delete the port 80 site from Central Administration
- Create a new web application with port 80
- Add a new site collection to the new web application
- Try accessing the site using the above URLs
Ensure that you have valid entries in the system32\drivers\etc\hosts file.
Virtual Machine Links
Following are some virtual machine links.
References
Summary
In this article we have seen the installation of SharePoint 2013 on Windows Server 2012. Summarizing the activities we have performed the following:
- Windows Server 2012
- SQL Server 2012
- SharePoint 2013
- Internet Information Services 8.0
Please let me know any problems you face so that I may be able to guide you. In the upcoming article I will come up with the new features of SharePoint 2013.
SPONSORS:
No comments:
Post a Comment